
I thought it was high time to give my Cookie Rookie project another go, so today I put together a recipe for a new cookie! After having had a tiny bit too much sangria last night, I wanted something easy, delicious and very unhealthy — so, chocolate seemed like the perfect idea! I named these cookies chocolate chip cookies, but I didn’t use any actual chocolate chips, since you can’t buy those in the supermarket over here. Plus, a bar of chocolate is just much cheaper, and this poor student is a little bit low on cash at the moment…
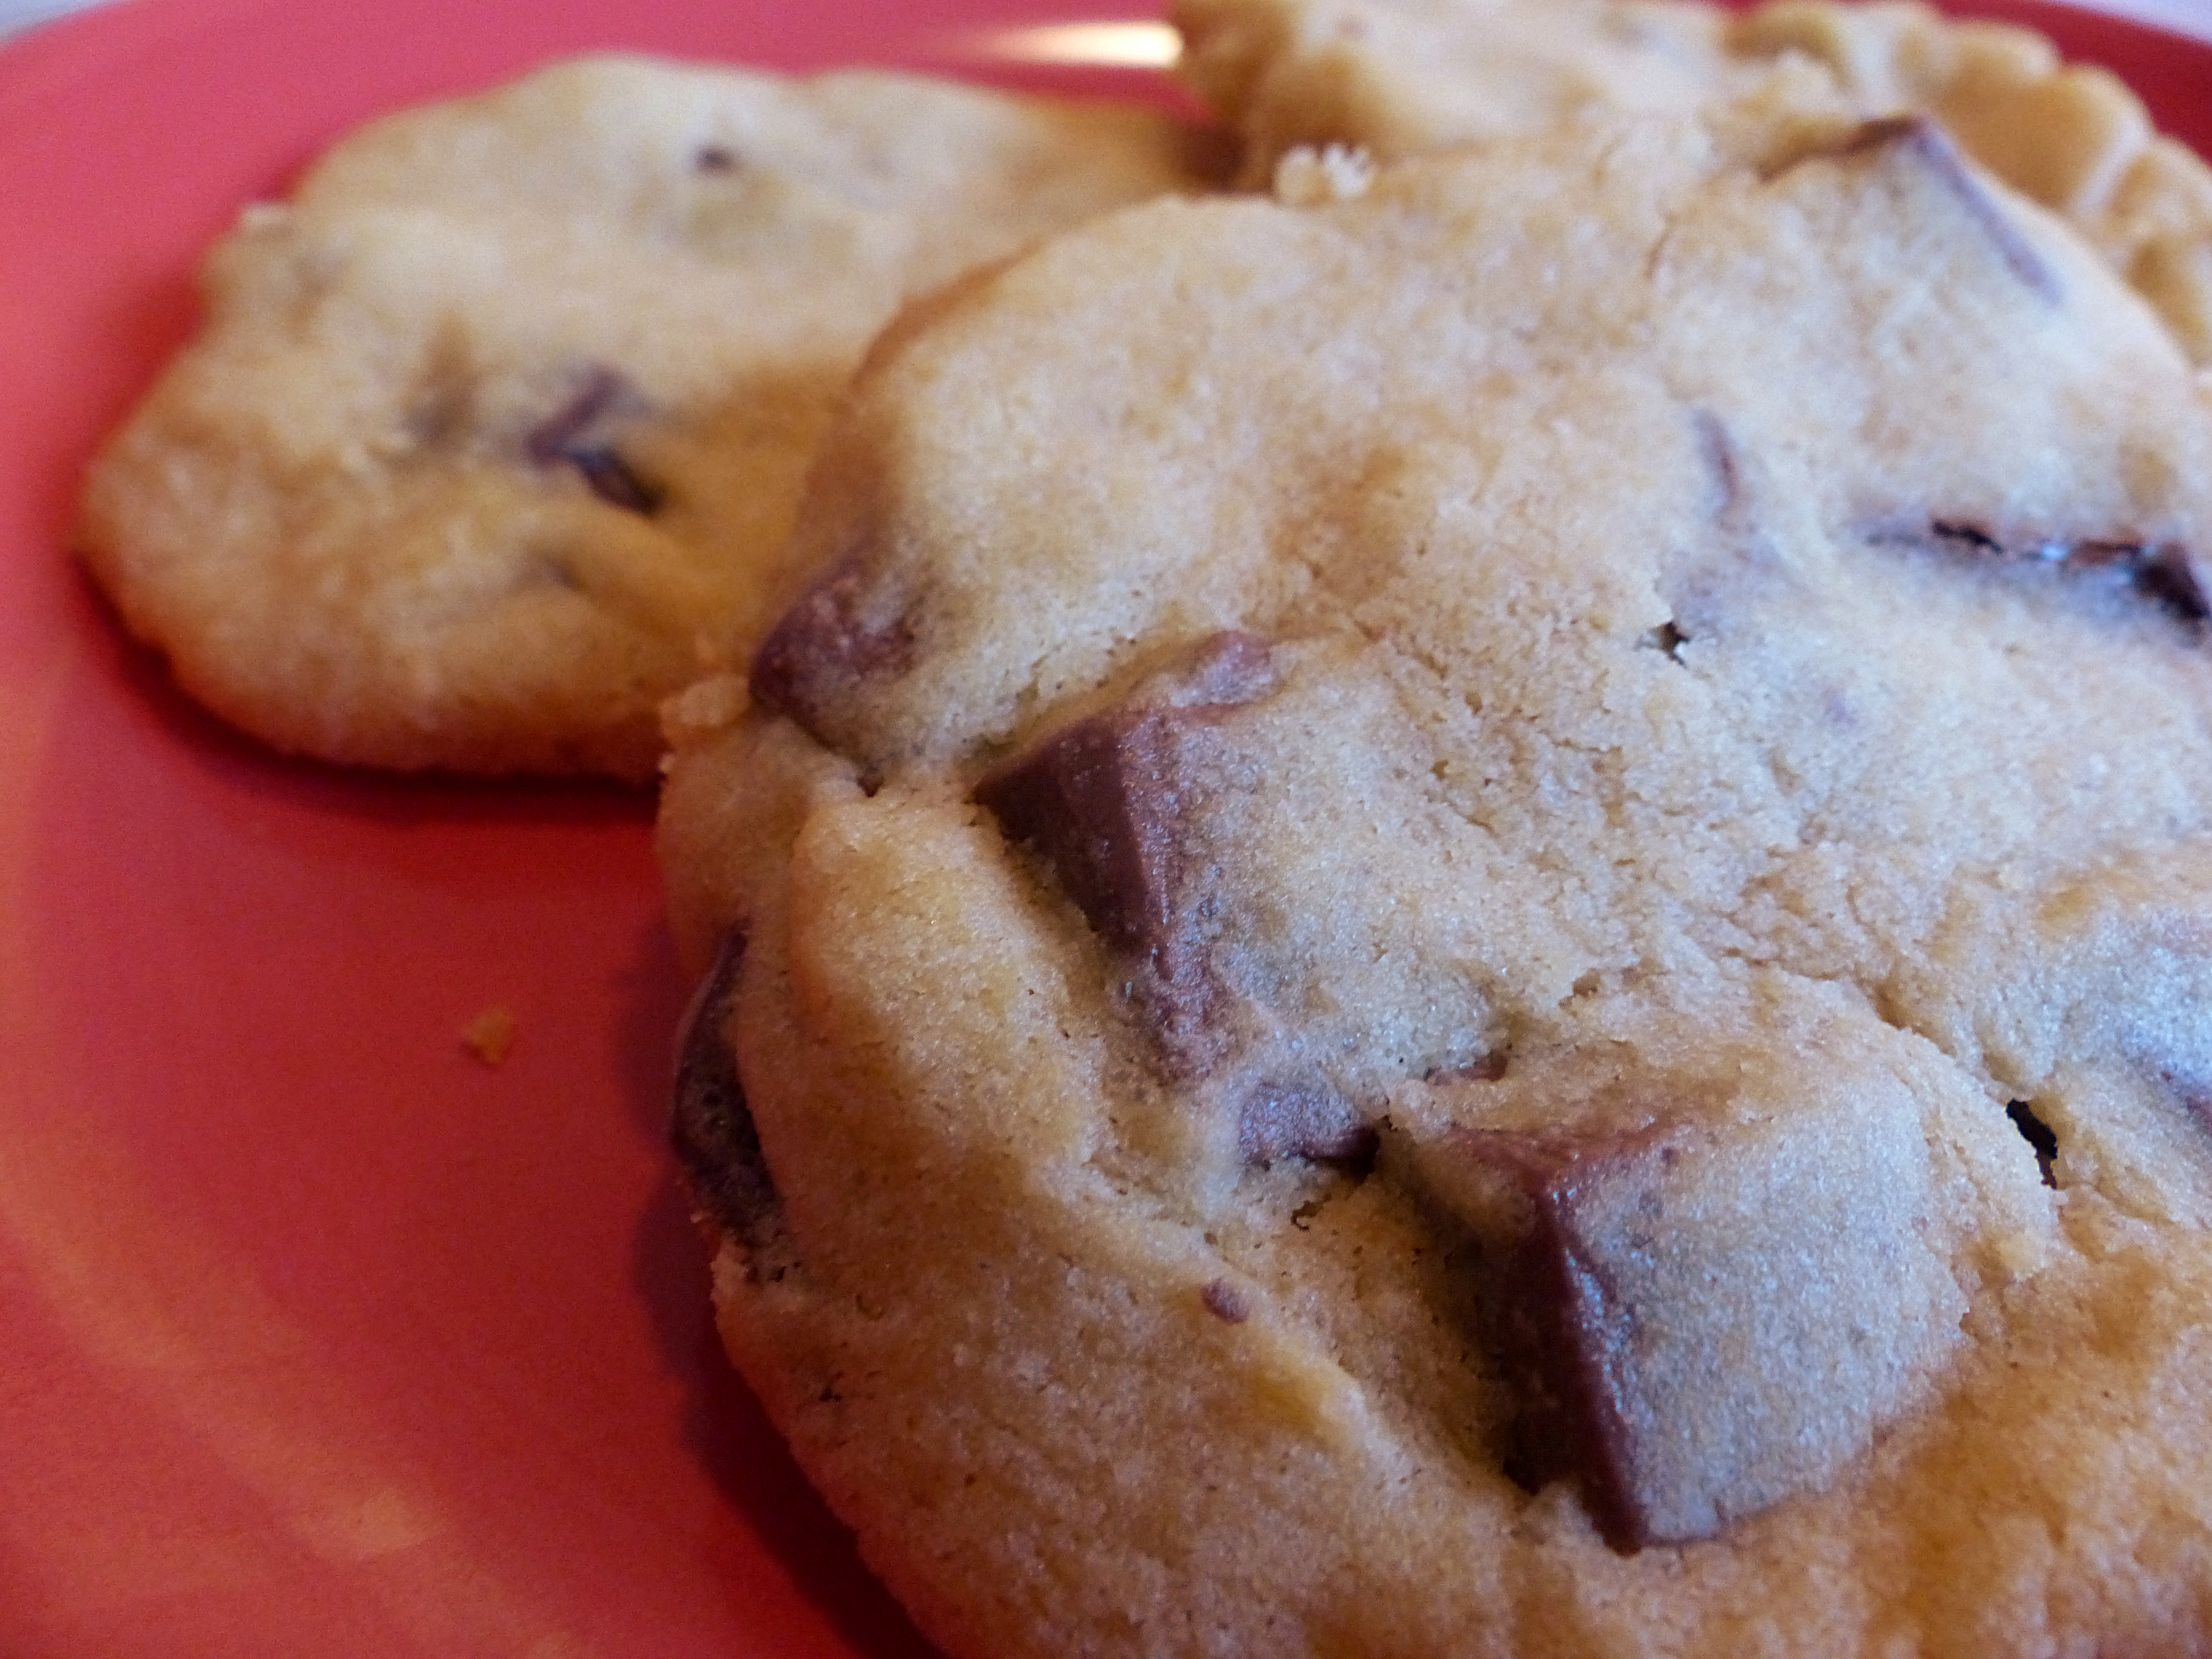
I used a bar of milk chocolate and a bar of dark chocolate for these cookies, but after tasting them I wished I used two bars of dark chocolate; it’s just got a richer taste, in my opinion. If you don’t like dark chocolate and prefer white, you can use that as well!
I accidentally made gigantor cookies (seriously, they’re huge), but they tasted pretty all right. They’re perhaps a bit too sweet for my taste. In any case, they’re definitely not beating the last Cookie Rookie attempt; my chocolate and hazelnut cookies, which were absolutely delicious.
They’re still good enough to share, though! And even if they weren’t, I promised to record both my successes and failures. No failures yet, but we’ll see what comes next!

You’ll need…(for about 15 cookies, I think – but I made gigantor ones)
– 150 g light brown caster sugar
– 225 g soft butter
– 1 egg yolk
– 2 teaspoons of vanilla flavouring
– a pinch of salt
– 230 g plain flour
– 100 g milk chocolate, chopped
– 100 g dark chocolate, chopped
– parchment paper
– baking tray
– and an oven, of course! These cookies need to be baked at 190 °C (don’t forget to preheat your oven!)
So, let’s get baking!
1. Mix the sugar and the butter together The first step is to whisk together the sugar and the butter. You can melt the butter, but my tip is to not melt it all the way. Just melt it until it’s soft to the point that it’s easy to mix with the sugar. You know, without all the butter sticking to your whisk in one big lump.
2. Add the egg yolk, vanilla flavouring, flour and salt — and mix Now you have to add the egg yolk and the vanilla flavouring. Then you’ve got to sieve the flour and the pinch of salt above the bowl, and consequently mix it all together with a spoon until you’ve got some beautiful (and sticky) dough.
3. Add the chocolate! Next up is adding the best bit of your cookies: the chocolate! I chopped up all my chocolate with a knife (which was a bit of an annoying little task), but if you’ve got a food processor, you can also try to use that. The downside is that a food processor will leave you with a lot of chocolate dust, so to speak. That might be a bit of a waste of the chocolate. It does save you a lot of work and sore fingers, though!
4. Make little balls of dough and put them on the tray You’re almost done now! All that’s left to do is to line your baking tray with parchment paper, and divide the cookie dough over the tray. Make little balls of the dough, put them on the tray and press them down a little bit.
5. Bake them cookies! It’s time for the oven to do its job! Put the tray in the oven, and bake the cookies for 12 to 15 minutes. When they come out, they’ll still be rather soft, but that’s okay! They’ll stiffen up a bit when they’re cooling, and they’re meant to be a bit chewy. Let the cookies cool on their tray (out of the oven) for 5 to 10 minutes, and then transfer them onto a wire rack to let them cool completely.
Enjoy your cookies!


How nice of you to leave out the story about the burned cookies of your mom!
You’re welcome 😉
They look delicious and I prefer dark chocolate 🙂
Thank you! And same here, it’s my favourite!
They look good. Anytime I attempt cookies they turn out more like biscuits. Maybe I’ll try again with your recipe and see if I can make them work…
Thanks! I think the trick is to not bake them for too long. If you take them out, they’ll still feel really soft and mushy, but that’s okay. They stiffen up when cooling, but will still be nice and chewy. When the cookies start to be a little bit golden brown on the edges, it means they’re done. 🙂