
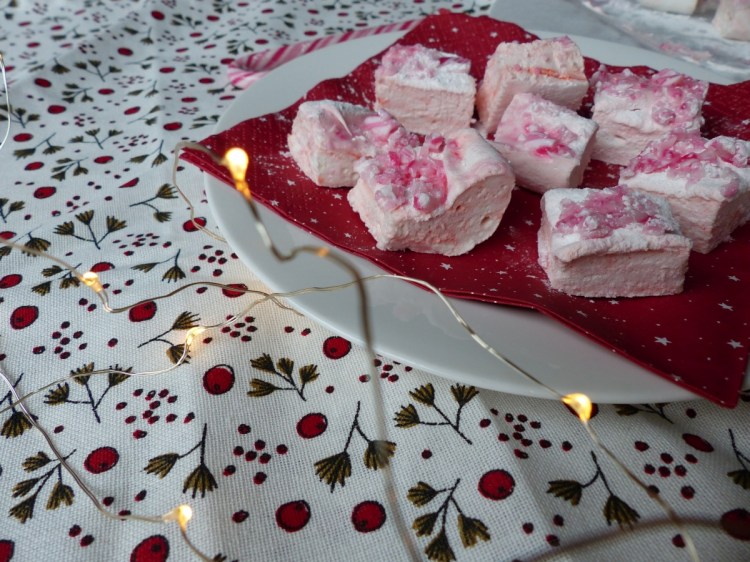
The second recipe of the Festive Fortnight! This is one I’m especially excited about. It’s marshmallows! I tried making marshmallows before over two years ago, and it was quite a failure. Back then I was unsure what I did wrong, but now I know I didn’t use the right type of gelatin (the stuff I used basically wasn’t gelatin at all). With that knowledge, I decided to try again.
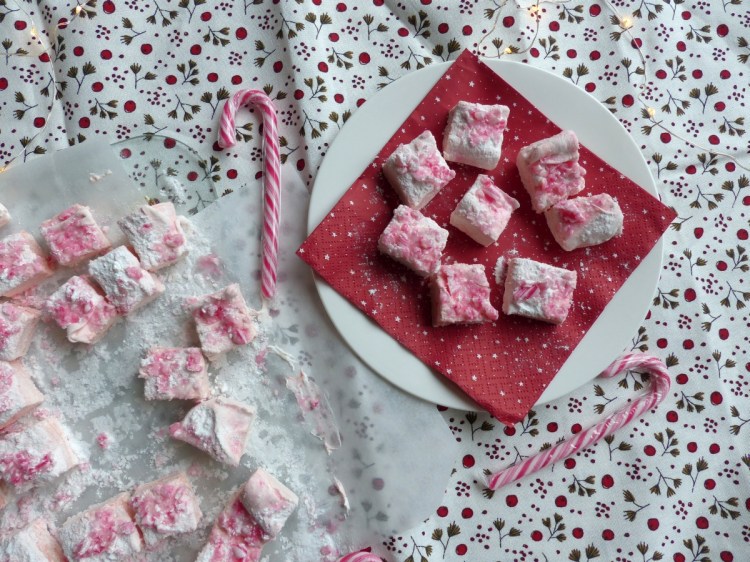
And you know what? Making marshmallows really isn’t that hard! In fact, it’s pretty simple, as long as you have a sugar thermometer and you stick to the recipe. My recipe was based on this Dutch one. I used a little less gelatin, and I added the crushed candy canes on top for that festive touch. The candy cane also adds some extra texture and a nice mint-y flavour to the otherwise soft and sweet marshmallows.
I’m still dumbfounded by the whole process of making marshmallows, by the way. I didn’t take any pictures of the process itself, which I’m regretting now. But I watched with wonder how a mixture of water, golden syrup, sugar and gelatin (so, a transparent and slighly golden liquid) turned into white, sticky goo (or, you know, marshmallow fluff) and tripled in size during the process. Science, man! I love it.
I love how easy these were to make, and I think I’ll be trying out different versions in the future. You can go all kinds of ways with the flavour and look of these!
You’ll need…
- 45 g icing sugar
- 15 g cornflour
- a bit of sunflower oil
- 8 sheets of gelatin
- 110 ml cold water
- 200 g sugar
- 65 ml golden syrup
- ⅛ teaspoon salt
- ½ teaspoon vanilla
- a drop of red food colouring
- crushed candy canes
- baking tin (shape doesn’t matter – I used a brownie tin)
- sugar thermometer
- parchment paper
So, let’s get baking! (Or making, in this case)
1. Sift together icing sugar and cornflour Sift the icing sugar and the cornflour above a small bowl and mix them together. You will use part of this mixture to coat your tin with, and the rest to cover your marshmallows with.
2. Line, grease and dust your tin Use a little bit of sunflower oil to grease your tin, and then coat it with parchment paper. This way, the parchment paper will stay in place. Then, lightly grease the lined tin with some more sunflower oil. Generously sprinkle the tin with the icing sugar/cornflour mixture (use about half of it) and make sure the bottom and sides of the tin are covered. This will prevent the marshmallows from sticking to the paper.
3. Soak gelatin sheets Fill a large pan or bowl with cold water, and add the sheets of gelatin to it. Let the sheets soak in the cold water for at least 10 minutes (longer is perfectly fine).
4. Heat sugar, golden syrup, salt and 60 ml of water Take a pan (small to medium size – keep in mind that the mixture will triple in size after mixing it) and put the sugar, golden syrup, 60 ml of cold water and the pinch of salt in it. Place the pan on the stove and heat it on low heat until the sugar has dissolved, stirring all the while with a wooden spoon. When the sugar has dissolved, increase the heat and heat the mixture up to 116 °C. Keep stirring! Once you’ve reached 116 °C, take the pan off the heat immediately. Pay attention now, because these steps will need to happen quite quickly, before the mixture cools down.
5. Add gelatin and 50 ml of water Take your soaked gelatin sheets, squeeze them a little to get rid of excess water and add them to the mixture, together with 50 ml of water. Mix them through with the wooden spoon until the gelatin has dissolved.
6. Mix for 10 to 15 minutes and add vanilla Now, you should mix the hot mixture for 10 to 15 minutes. You could transfer the mixture to the bowl of your stand mixer (if you have one, that is), but you’ll save some time by using a handheld mixer (which is what I did). Mix on the highest speed and you’ll notice that the mixture will start to turn white, glossy and thick and that it’ll triple in volume! Add the vanilla aroma near the end, and mix it through.
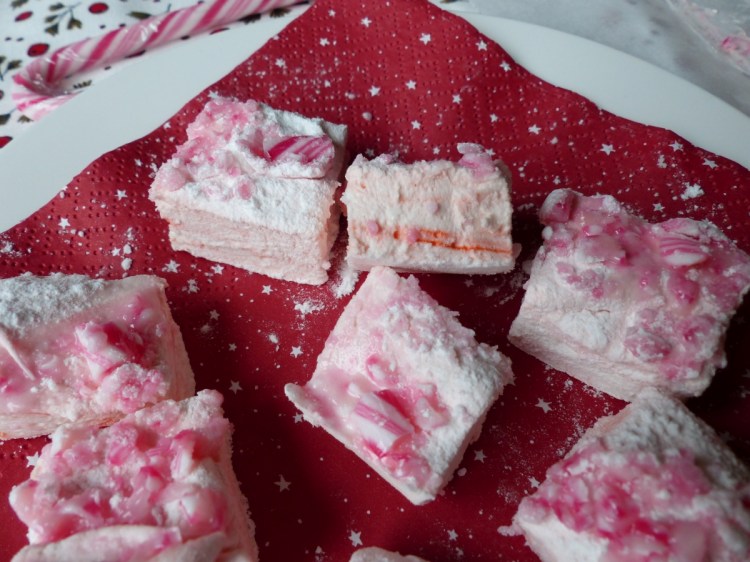
7. Add food colouring Now, add a drop of red food colouring and mix it through a little bit to create a marbled effect. Or mix it through entirely if you want your marshmallows to have an even colour.
8. Transfer to tin The mixture will have cooled down quite a bit already, which is why you need to be quick after you take it off the stove. Transfer it into your lined, greased and dusted baking tin and gently spread it out to the edges.
 9. Sprinkle icing sugar mixture and crushed candy canes Use half of your remaining icing sugar and cornflour mixture to sprinkle it over the marshmallow. Make sure it’s entirely covered. Also sprinkle over the crushed candy canes.
10. Let marshmallows set Now you’ll have to play the waiting game. The marshmallow will need to set at room temperature for at least 4 hours. I left mine overnight before cutting them.
11. Cut and coat When your marshmallow has set completely, you can lift it out of the tin by use of the baking parchment. Grease a sharp knife with a bit of sunflower oil and then coat it in a little more of the icing sugar and cornflour mixture. Cut your marshmallow into pieces (as bit or small as you like). Once you’ve cut them, dip the sides of the marshmallows that are still sticky in the icing sugar and cornflour mixture.
And that’s it! You’ve got your own (delicious) marshmallows to enjoy at Christmas time.


We want more of these 😋
Well, the recipe is above, so what’s stopping you? 😉
Time, my dear…
These look incredible. My mom tried making marshmallows before but they are tricky to make. Well done you!
They can be a bit tricky, yes, but with the right recipe, they won’t be as difficult as you might think! Thank you! 😀
These were so delicious
Thank you! 😀