It’s the most wonderful time of the year! No, I’m not talking about Christmas – I’m fully aware that’s still exactly 114 days away. I’m talking about the fact that The Great British Bake Off is finally on again! I got all giddy with excitement weeks ago and that didn’t really stop when I actually watched the first episode. It got me all excited to get into the kitchen and bake something myself as well, and that’s when I came up with this idea…
I’m going to do a GBBO Bake-Along! Over the course of the coming weeks, I’m going to bake something every week and it has to be inspired by that week’s episode of GBBO. It doesn’t necessarily have to be a recipe directly from the show, but it does have to fit with that week’s theme. This is going to be so much fun!
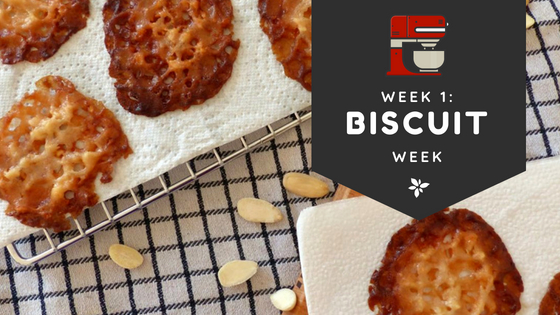
Week 1 is Biscuit Week, which is unusual for Bake Off because they usually start with Cake Week. I like biscuits, though, and I was excited to see what the three challenges (the Signature, Technical and Showstopper challenges) were and what I could do for the Bake-Along.
For my bake, I decided to go for the Signature Challenge. The challenge was to bake a traditional biscuit, but the bakers were asked to put their own spin on it. Most of the bakers chose a biscuit from a specific region, so that’s what I decided to do as well!
And what other “region” to choose than The Netherlands? We’ve got plenty of delicious, typically Dutch biscuits. Most of you will probably be familiar with “stroopwafels”, which is the archetypal Dutch biscuit.
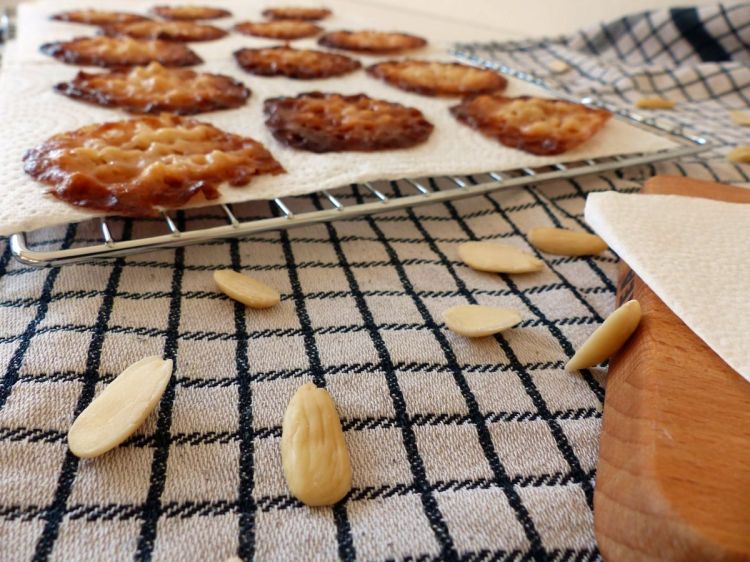
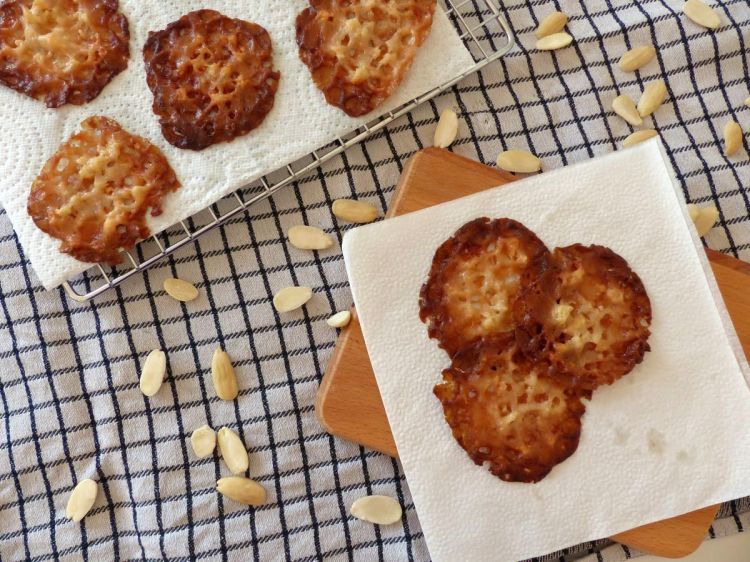
I decided to go for something a little less well-known, though, and that’s the “kletskop” (plural: kletskoppen). Let’s talk about that name first because it needs talking about. Literally, it translates to “chat head”, but I guess you could best translate it with “blabbermouth”. So, why this strange name for a biscuit? I’ve got no clue. All I know is that it’s delicious and surprisingly easy to make once you get the hang of it! I used this Dutch recipe from Laura’s Bakery, with a few slight alterations.
A kletskop is a very thin, brittle biscuit that crunches when you eat it and snaps when you break it. Although this biscuit does contain butter and flour, the main ingredient is sugar. It’s baked at a very high temperature (220 °C) which, I think, is to make sure the sugar caramelizes and goes brown quickly.
Anyway, I’ve been enough of a blabbermouth. On to the recipe!

You’ll need… (for 24 biscuits)
- 100 g white caster sugar
- 30 g butter (softened)
- 20 g milk
- 35 g blanched almonds (chopped)
- ¼ teaspoon ground cinnamon
- ¼ teaspoon salt
- 50 g plain flour
- parchment paper
- baking tray
- piping bag
- and an oven, of course! These biscuits need to be baked at 220 °C (don’t forget to preheat your oven!)
So, let’s get baking!


1. Mix butter, sugar and milk together Take a bowl and add the caster sugar, milk and softened butter to it. Use a spatula to mix it all together. The butter might seem difficult to mix with the rest at first but just keep at it until you have a smooth mixture – it won’t take long.
2. Add almonds, cinnamon and salt Add the chopped almonds, ground cinnamon and the salt to the mixture and mix these through using the spatula.
3. Add flour Lastly, sieve the flour and then add it to the mixture as well, and again use the spatula to mix it through.
4. Transfer mixture to piping bag and pipe it Scoop the biscuit dough into a piping bag and then cut off the end so you have an opening of about a centimeter and a half. Line your baking tray with parchment paper and then pipe small blobs of dough onto the tray, about 3 cm wide. Leave a whole lot of space between the blobs (about 2 or 3 times their sizes) because these biscuits will spread a lot.


5. Bake! Now comes the tricky part. You need to bake these biscuits at 220 °C for about 6 to 8 minutes, but you need to keep a close eye on them because they burn faster than you can say “Great British Bake Off”. The blobs will start to spread and then they will start to bubble in the oven. As soon as they start to go brown around the edges, you need to watch them like a hawk because this is where it can go wrong (as it did with my first batch – see the picture above). Watch the biscuits and take them out before they get too brown. The middle of the biscuit will still be a little pale – that’s fine. Just make sure that the edges are brown but not burned.
6. Let them cool Take out the baking tray and leave the biscuits to cool on there for a few minutes. Then, when they’ve hardened, carefully peel them off the parchment paper and transfer them to a cooling rack covered in paper towels to cool down completely. The paper towels are there to absorb the grease from the bottom of the biscuits. Don’t have a cooling rack? That’s fine, just put down some paper towels on the counter and leave them to cool there.
And that’s all there is to it! You’ve got your own, delicious kletskoppen – a true delicacy! Enjoy!
Oh, and come back next week for Week 2 of my GBBO Bake-Along: Cake Week!