
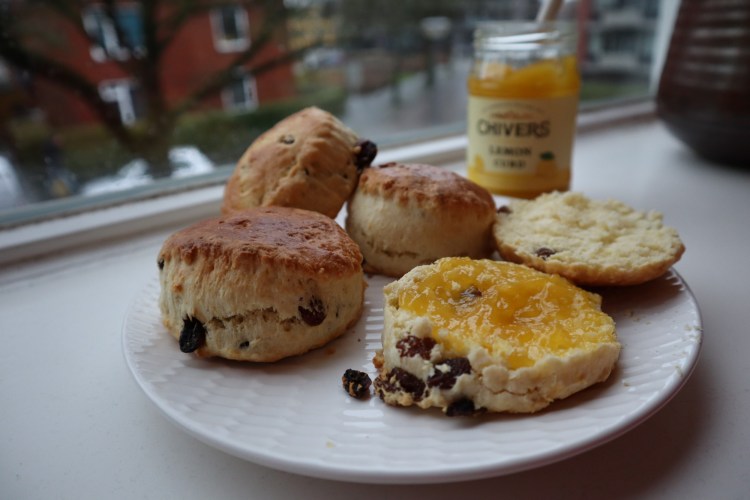
You know what I hate about the dark days of winter? Exactly that: the darkness. It’s so hard to take good pictures of the things I bake! Take these scones, for example. Sure, they still look scrumptious, but these pictures do have a bit of a gloomy feel to them, don’t they? I could always edit them, of course, but I like my food pictures to be as natural as possible.
Anyway, back to the scones. This is the first baked good I can cross off of my 2020 Bake It List! Up until last weekend, I had never baked scones. I’m pretty sure the times I’ve eaten scones can be counted on one hand, maybe two. They’re a staple in any high tea, though, and a typically British baked good, so I really wanted to be able to add them to my repertoire as well.
After figuring out my recipe and having my boyfriend buy the ingredients, I enthusiastically set to baking scones on Sunday. However, they hardly rose in the oven and they came out rock solid. Not a success! I immediately knew where I went wrong, though: I’d kneaded the dough way too vigorously. After some more research and some help from a very kind person on Twitter, I found out about Paul Hollywood’s method for kneading scone dough (here’s a video), and I immediately tried again the same day. This time, my scones came out wonderfully!
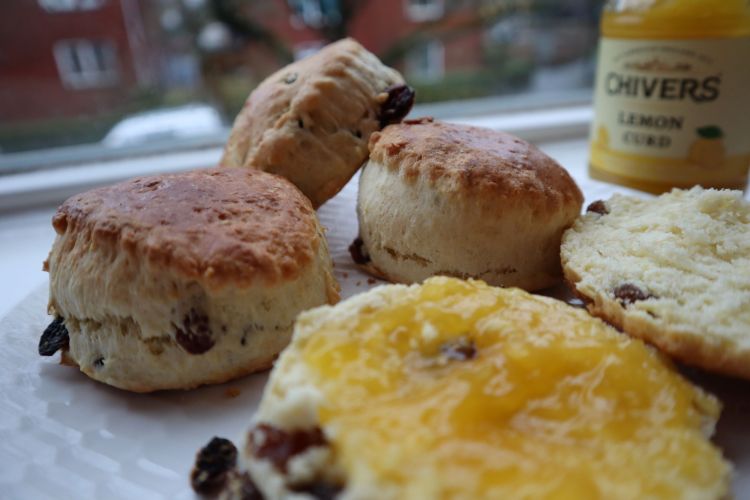
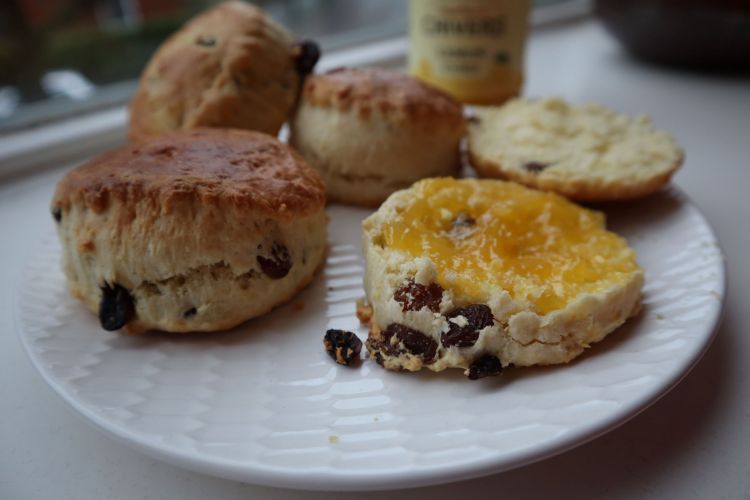
Even though it was my first time making scones, I decided to add in raisins instead of going for plain scones, just to add in that extra little something interesting. Because, and this might be slightly blasphemous, I think scones can be a little boring at times. Gasp, I know. Traditionally, scones are eaten with cream and jam, but I had mine with lemon curd, which I think I liked better, as it added a perfect tanginess!
You’ll need… (for 6 to 10 scones – depending on the size of your cutter)
- 250 g plain flour
- 45 g superfine sugar
- 2½ teaspoons baking powder
- a generous pinch of salt
- 40 g unsalted butter, chilled and cubed
- 1 egg
- 90 ml milk (+ a little extra for brushing on top)
- 1 teaspoon lemon juice
- 60 g raisins
- a round (scone) cutter (or a thin-rimmed glass)
- baking tray
- parchment paper
- and an oven, of course! These scones need to be baked at 200 °C (don’t forget to preheat your oven!)
So, let’s get baking!
1. Mix together dry ingredients Sieve the flour and baking powder above a large bowl and also add the sugar and the pinch of salt.
2. Rub in butter Cut the chilled butter into cubes and add these to the dry ingredients. Use your hands to rub in the butter, until the mixture starts to resemble rough breadcrumbs.
3. Add egg, milk and raisins Mix the teaspoon of lemon juice through the milk. Then, add the milk mixture, the egg and the raisins to the mixture and stir them through a little bit. I just used my hands for this, but it does get very sticky very quickly. You just want to make sure the wet ingredients are slightly mixed through the rest.
4. Knead the dough This is the potentially tricky part. You only have to knead the dough until it’s just combined – don’t overwork it. To do this, first lightly knead the dough together in the mixing bowl, until you’ve got something resembling one wet and sticky lump. It’s fine if there’s still pockets of flour visible; it’s not entirely combined yet at this stage. Then, turn out the dough onto a lightly floured surface. This is where Paul Hollywood’s kneading method comes in. Lightly fold the dough in half, turn it 90 degrees, and fold it again. Do this a few times, all the while shaping it back into a ball after the folding, sort of tucking the dough underneath. Does this make sense? If not, I recommend watching the video I linked in the intro.
5. Roll out dough and cut out scones Once you’ve repeated the folding a few times (not too many), carefully roll out the dough with a rolling pin, until you’ve got a layer of about 3 centimetres thick. Cut out the scones using the cutter. Make sure not to twist the cutter as you cut. You just want to push and then lift; twisting it will make the scones come out lopsided. Place each scone onto your baking tray (covered with parchment paper). Now, once you’ve cut out the scones, you’re going to have bits of leftover dough. You can carefully reroll this one time, but no more than that, or the dough will already be too tough.
6. Brush with milk Use a little extra milk to brush the tops of the scones with. This will ensure they brown beautifully.
7. Bake! Put the baking tray into your preheated oven and bake the scones for about 15 minutes, maybe a little more than that. You can test whether your scones are done by carefully pulling one apart. If the dough crumbles and doesn’t stick, they’re done!
And that’s it! You’ve got your own delicious raisin scones. Like I said, I loved mine with lemon curd, but you can have yours with anything you like!

Those look great! I didn’t know scones are traditionally plain.
I love the thought of scones with lemon curd.
It’s a delicious combination! 😀
Hi! My grandma used to make scones with raisins, love them!
Ah, that’s a nice memory! I really love them too 🙂